


Due Date: March 25
- Rationale
- Assignment (Part 1)
- Assignment: Part 2
- Assignment: Part 3
- Portrait Example
- Scene Example
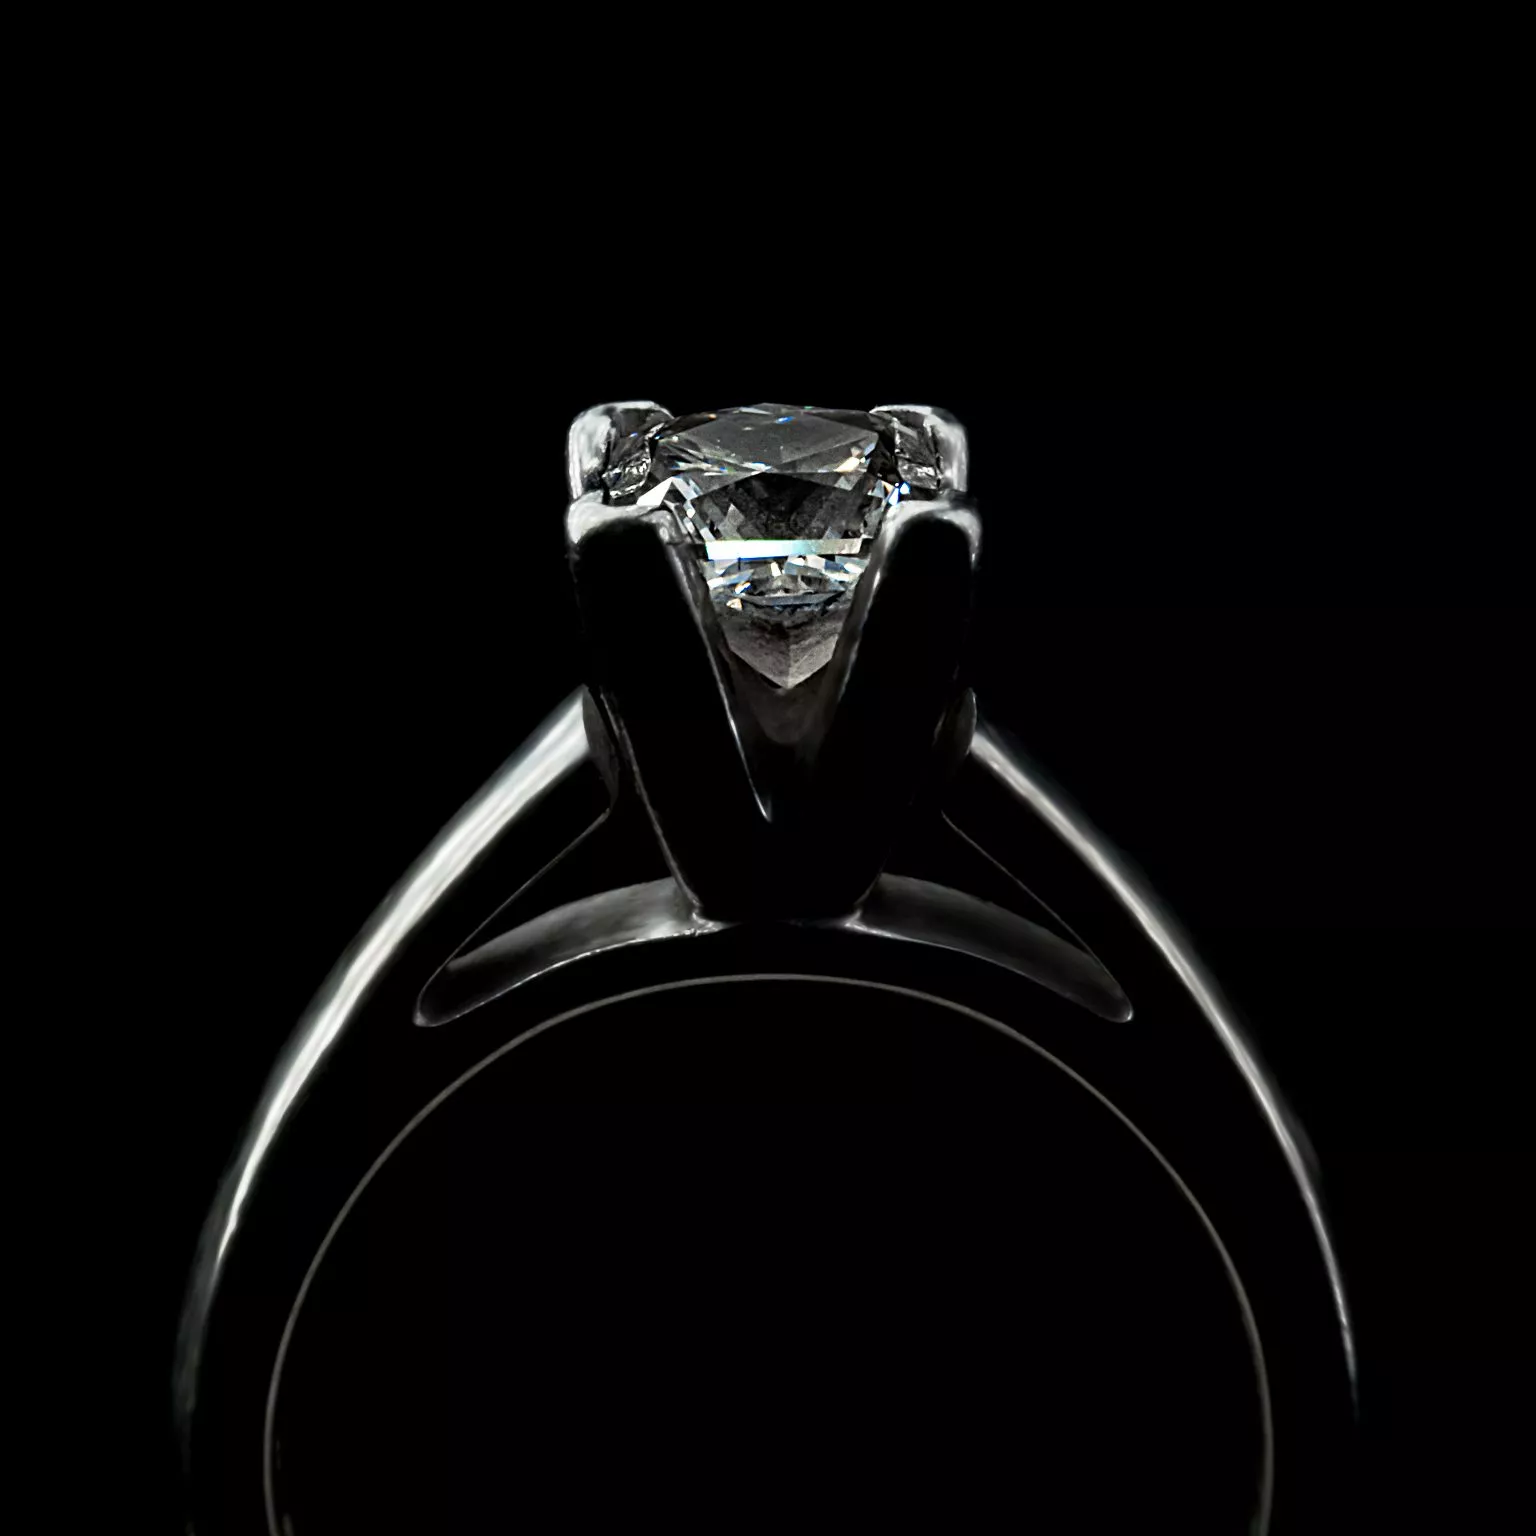
- Object Examples
- Rubric
 Shooting images in Black and White is one of the purest forms of photography as the reliance on color is completely absent. This does not translate into the idea that images are more “boring” or do not possess personality. In fact, some black and white images have proven to be the most stunning and emotion evoking images in the world. The upside is even Black and White images typically have 256 shades of gray to help out so things are not too “either/or” when it comes to this style of photography.
Check out this presentation on Lighting
Set your camera to shoot in Black/White (Monochrome). In the Nikon DSLR Menu, make sure you are on the "Shooting Menu," select "Picture Control" and then choose "Monochrome."
Your saved photographs will be titled as so:
- For Portraits, your images will be titled Portrait 1, Portrait 2, Portrait 3 (and so on)
- For Objects, your images will be titled Object 1, Object 2, Object 3 (and so on)
- For Sceneries, your images will be titled Scene 1, Scene 2, Scene 3 (and so on)
Your task is to shoot Forty images (in only Black and White)
- All PORTRAITS must be shot in Room 40, using the lighting rig
- Shoot 3 Portraits of 5 different people (fifteen photos total)
- Shoot 10 Photographs of different objects – This could be anything and everything. For example, a set of salt and pepper shakers. Or, maybe a set of dice. You could even shoot a water spigot outside of your house. Many inanimate objects lying around make for interesting photos depending on how they are shot.
- Shoot 3 photographs of five different sceneries (fifteen photos total) – These can be either natural or unnatural but they must be photos of scenes outdoors: a shot of an open field, the side of a building, the inside of a car, etc.
SAVING YOUR WORK
All images are to be saved in the folder The Truth in Black and White folder inside your Digital Photography folder (Be sure to open Adobe Bridge and make sure these files and folders are showing up properly)
*If your images do not show up in Black/White (Monochrome) in Adobe Bridge, go to the Menu and select Edit. Then, select Camera Raw Preferences and select Raw Defaults on the side menu item in the window that pops up. Then, change the Global setting to Camera Settings

Use Histogram to Adjust Levels (Balancing Your Exposure by adjusting Levels)
In this photograph, the light and darkness are extremely washed out. Our Histogram (located on Photoshop's Menu bar under Window/Histogram) shows a lot of dead/negative space where image colorization is basically missing. We want to "Equalize" or "Balance" this image so that the dead space is removed. We do this by using Levels, Curves, or Exposure (but not a combination) and compare it with our Histogram. For this assignment, we will be using a "Levels" Adjustment Layer

By adjusting the sliders on the Levels Adjustment Layer, we can manipulate the Lights, Darks, and Midtones to where we minimize (or even eliminate) the dead space of missing image information.
When our Histogram is more filled out, the image is considered "balanced."

Why Does It Work This Way?
If you've ever listened to (and enjoyed) music, you can probably define a song's basic properties by "Highs" (Treble), "Lows" (Bass), and "whatever is in between" (Midrange).
Here is an example of how it looks visually:

With Graphic Equalizers (found in the best audio engineering software/equipment), you can balance the sound by adjusting "frequencies" that will enhance (boost) or diminish (cut) the three sounds of a song (Bass/Midrange/Treble). This process allows the listener to "Balance" the sound. The same can be done with images and the same principles work.
Just how it is with music, our image can be broken down into three main components only instead of Bass, Midrange, Treble they are Dark, MidTones, and Lights. By using the Adjustment Layer of Levels, Curves, and Exposure, you can make the necessary adjustments to "Equalize" or "Balance" your image (Only use Levels for this assignment).

- Save all your work inside of your Truth is Black and White folder
- When you are done editing your images, save your file as "(Whatever The File is Called) - balanced.psd"
It is time to repair an image. This photograph has a studio backdrop that is not onlny visible but also displays wrinkles. This is unsightly and should be omitted from the image.
In order to do this, we utilize two different Photoshop tools.
- Burn: Burn will darken areas of an image (Shadows, Midtones, Highlights) which is accessible via the Tool Bar but it's adjustments can be changed in the Properties Bar directly underneath the Menu Bar
- Dodge: Dodge does the opposite of Burn...it lightens the areas of an image. You can lighten the same attributes of Shadows, Midtones, and Highlights that you can darken with the Dodge tool.
Here is an example where the images has been "leveled," "dodged," and "burned." Notice that the wrinkles are now gone, the subjet's hair is lightened, her eyes are darkened, and the white/dark have greater "contrast" between them.

Open each image that you have "balanced" with Levels Adjustment Layer and perform any dodging/burning necessary in order to bring out the strong blacks and the bright whites. When you are done, simply Save your work (no need to rename them).

Copyright Abritton Photography

Copyright PopPhoto.com


Copyright, framefocusfoto.com

Copyright, Krystil McDowall Photography


| Criteria | No | Yes |
| Are the images shot in black in white (conversion in Photoshop is not allowed for this assignment) | 0 | 30 |
| Are the Blacks deep and dark and the Whites bright? | 0 | 30 |
| Are the images in focus and use an obviously intentional "Depth of Field" | 0 | 30 |
| Are the images boring? Are they tiresome to look upon? Are they devoid of any imagination, creativity, effort and general applicable work ethic or approach? | 0 | 30 |
| Points Available | 0 | 120 |